Pro-Form LX 360 Manuel d'utilisateur
Naviguer en ligne ou télécharger Manuel d'utilisateur pour Tapis de course Pro-Form LX 360. Pro-Form LX 360 User`s manual Manuel d'utilisatio
- Page / 19
- Table des matières
- DEPANNAGE
- MARQUE LIVRES
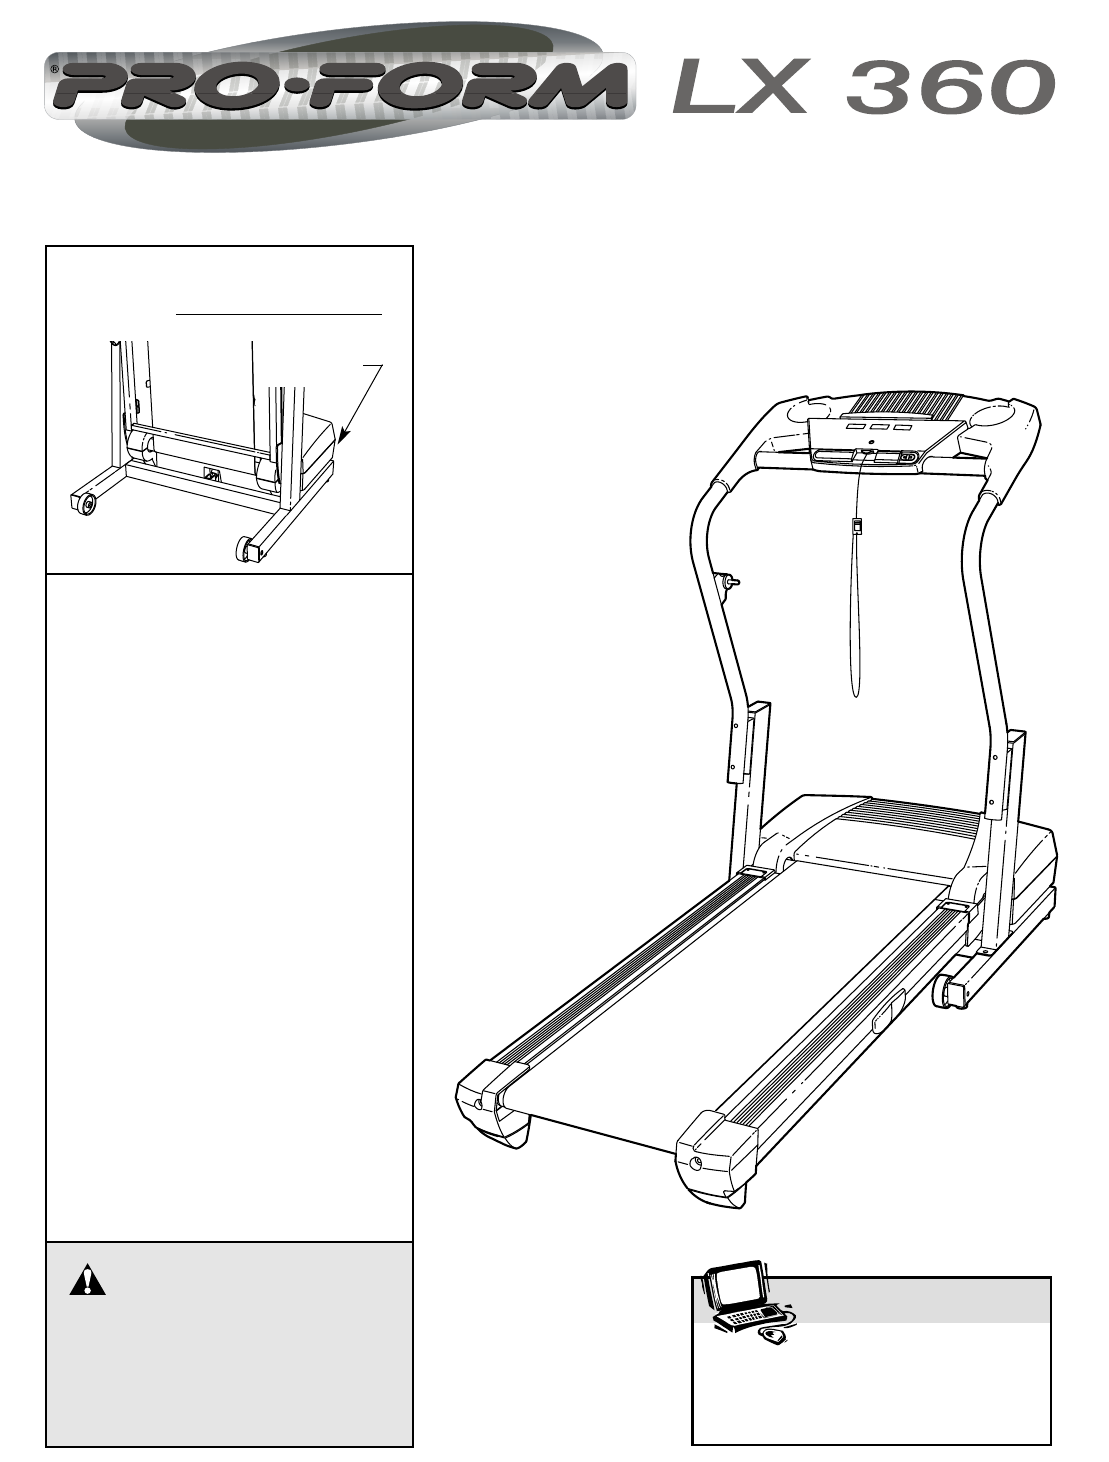
- USER'S MANUAL 1
- TABLE OF CONTENTS 2
- IMPORTANT PRECAUTIONS 2
- SAVE THESE INSTRUCTIONS 3
- BEFORE YOU BEGIN 4
- ASSEMBLY 5
- OPERATION AND ADJUSTMENT 8
- DANGER: Improper connection 8
- WARNING: Removing the key 10
- TROUBLESHOOTING 13
- CONDITIONING GUIDELINES 15
- ORDERING REPLACEMENT PARTS 16
- LIMITED WARRANTY 16
- PART IDENTIFICATION CHART 17
Résumé du contenu
Serial NumberDecalUSER'S MANUALModel No. PFTL39020 Serial No. CAUTIONRead all precautions and instruc-tions in this manual before usingthis equi
10To stop the walking belt, press the Stop button.The elapsed time will begin to flash in theTime/Distance display.Note: During the first few minutes
1111HOW TO FOLD AND MOVE THE TREADMILLHOW TO FOLD THE TREADMILL FOR STORAGEBefore folding the treadmill, unplug the power cord. CAUTION:You must be ab
HOW TO LOWER THE TREADMILL FOR USE1. Hold the upper end of the treadmill with your right hand asshown. Using your left hand, pull the latch knob to th
13TROUBLESHOOTINGMost treadmill problems can be solved by following the steps below. Find the symptom that applies, andfollow the steps listed. If fur
PROBLEM: The walking belt slows when walked onSOLUTION: a. Use only a single-outlet surge suppressor that meets all of the specifications described on
CONDITIONING GUIDELINESThe following guidelines will help you to plan your ex-ercise program. For more detailed exercise informa-tion, obtain a reputa
Part No. 189623 R1102A Printed in USA © 2002 ICON Health & Fitness, Inc.ORDERING REPLACEMENT PARTSTo order replacement parts, call our Customer Se
3/4” Screw (2)–8 1/2” SilverScrew (49)–3Wheel Bolt (64)–2Nut (13)–21” Tek Screw (58)–43/8” Star Washer (38)–45/16” Star Washer (63)–4Crossbar Screw(3
PART LIST—Model No. PFTL39020 R1102AKey No. Qty. DescriptionKey No. Qty. DescriptionKey No. Qty. Description1 1 Hood2 15 3/4” Screw3 1 Motor Belt4 1 M
57586531*303235343339361104727546249674445484543122345678292626252427281056121913136023213125914262621161817141527498848285839715968615959238923893918
TABLE OF CONTENTSIMPORTANT PRECAUTIONS . . . . . . . . . . . . . . . . . . . . . . . . . . . . . . . . . . . . . . . . . . . . . . . . . . . . . . .
The decals shown have been placed on your treadmill. If a decal is missing, or ifit is not legible, please call our Customer Service Department, toll-
Thank you for selecting the revolutionary PROFORM®LX 360 treadmill. The LX 360 treadmill combines ad-vanced technology with innovative design to help
ASSEMBLYAssembly requires two persons. Set the treadmill in a cleared area and remove all packing materials. Do notdispose of the packing materials un
63. Orient a Handrail Spacer (106) so that the arrow be-tween the two holes points upward. Thread the WireHarness (42) through the upper hole in the
79. Make sure that all parts are properly tightened before you use the treadmill. Note: Extra hardware maybe included. Keep the included allen wrenche
8OPERATION AND ADJUSTMENTTHE PERFORMANT LUBETMWALKING BELTYour treadmill features a walking belt coated withPERFORMANT LUBETM, a high-performance lubr
9STEP-BY-STEP CONSOLE OPERATIONBefore operating the console, make sure that thepower cord is properly plugged in (see page 8). Next, stand on the foo
Produits connexes et manuels pour Tapis de course Pro-Form LX 360
 (18 pages)
 (36 pages)
 (74 pages)
© 2020, manymanuals.fr. Tous droits réservés | 2.727 s |
 Manymanuals.com
 Manymanuals.de
 Manymanuals.fr
 Manymanuals.it
 Manymanuals.pl
 Manymanuals.cz
 Manymanuals.es
 Manymanuals-pt.com
Commentaires sur ces manuels